
I’ve been Pinteresting and looking for ways to help my toddler grow and learn, while having fun. I was inspired for this idea from the YouTube Channel Holy Sprouts. If you haven’t checked this show out for your little, I highly recommend it. Ms. Amy is a cheery, bright lady that teaches your child signs and nursery songs.

I especially love the Christian component. After watching her, I’ve even learned signs and songs!!! You’ll always hear JoJo say “Me-Me” (Ms. Amy), “manana” (banana), “en” and “ou” (in and out), “esus” (Jesus) and “AH-MEH” (AMEN!) thanks to her!! He loves signing water, banana, Jesus, amen, and help because of this show too. So thank you, Ms. Amy for your warm messages, ideas, and teachings!!
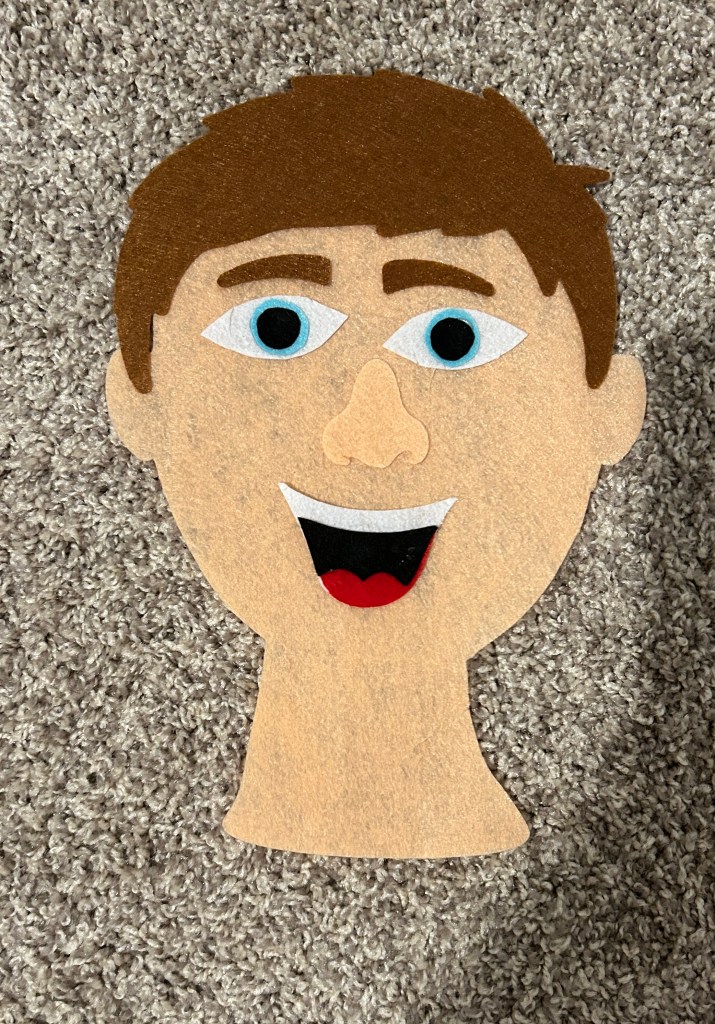
For one part of her show, she had these felt heads with facial felt pieces that she matched to show the correct placement while saying the words. I thought it was such a good idea!! JoJo knows the words for nose, teeth, and eyes, but I thought giving him a tactile way to practice would be great too (lol the teacher in me).
Hence, this craft was born!! I went straight to Adobe Illustrator and designed these graphics. Then, brought them into Cricut Design to have my Cricut cut them out. The longest part of this process was probably waiting for the Cricut felt to deliver lol because I wanted specific colors!
However, if you don’t have a Cricut OR don’t want to use the Cricut felt, you can simply print these graphics for free and trace and cut them out. I’m including these below.
Here are your easy steps with a Cricut:
1.) Decide if you want the boy or girl face—or make both!! The girl has some extra pieces of the eyelashes and lips (lol idk why that just made the girl look more girlie). Make sure you have Cricut Felt ready!!
2.) Open Cricut Design space and transfer the graphics into the “upload images”. It will be one solid color/piece for the face, hair, eyebrows, and nose, but for the eyes and mouth, you’ll have to individually upload each part so you can make them different colors. If you’ve never done this before, I highly recommend watching this video! — see the file down below!!
3.) Turn the graphics into the color felt you want them to be! Choose the skin color, (match the nose to that color), eye color, and hair color (match the eyebrows to that color).
4.) Cut it out—making sure to click on the right Cricut material (felt). Watch your digital pieces transform!!
5.) Hot glue together the eye pieces and the mouth pieces to make them complete.
6.) Watch your child enjoy practicing with this new face!! Teach them the words as they place it on the head. It’s ok if they don’t get the placement right the first time, let them explore and experiment! Then, help guide them while emphasizing the words too!
7.) Store in a plastic bag or reusable pouch for endless plays!!
Here are your easy steps WITHOUT a Cricut:
1.) Decide if you want the boy or girl face—or make both!! The girl has some extra pieces of the eyelashes and lips (lol idk why that just made the girl look more girlie).
2.) Print out the graphic pieces for each facial part– see the file down below!!
3.) Decide which color you want each part to be. Choose the skin color, (match the nose to that color), eye color, and hair color (match the eyebrows to that color).
4.) Cut out the paper image and trace and cut it onto the felt. You could even use sewing needles to secure it down while you cut the felt around the piece.
5.) Hot glue together the eye pieces and the mouth pieces to make them complete.
6.) Watch your child enjoy practicing with this new face!! Teach them the words as they place it on the head. It’s ok if they don’t get the placement right the first time, let them explore and experiment! Then, help guide them while emphasizing the words too!
7.) Store in a plastic bag or reusable pouch for endless plays!!
Head over to my Instagram to watch a cute video of me making this the Cricut way with my son:) He always enjoys pushing the buttons on the Cricut haha!
Enjoy this little craft!! I hope to share some more easy, toddler crafts and activities that are making us happy.
Xoxo,
Mrs. DeCLAIREing Happiness
